At Neighbor’s Mill, we strive for the highest quality in all that we do, including our coffee program. Our goal is to brew and serve up some of the best coffee in the region and provide a bit of coffee education along the way. Speaking of, did you know that all of our coffee is roasted weekly and comes to us from Fayetteville (Mama Carmen’s) and Eureka Springs (Mountain Bird)? We are very thankful for our relationships with both of these incredible local roasters and I encourage you to check them out if you haven’t already.
So, let’s talk coffee. First, let’s discuss a few items that are necessary in order to be consistent every time you brew coffee:
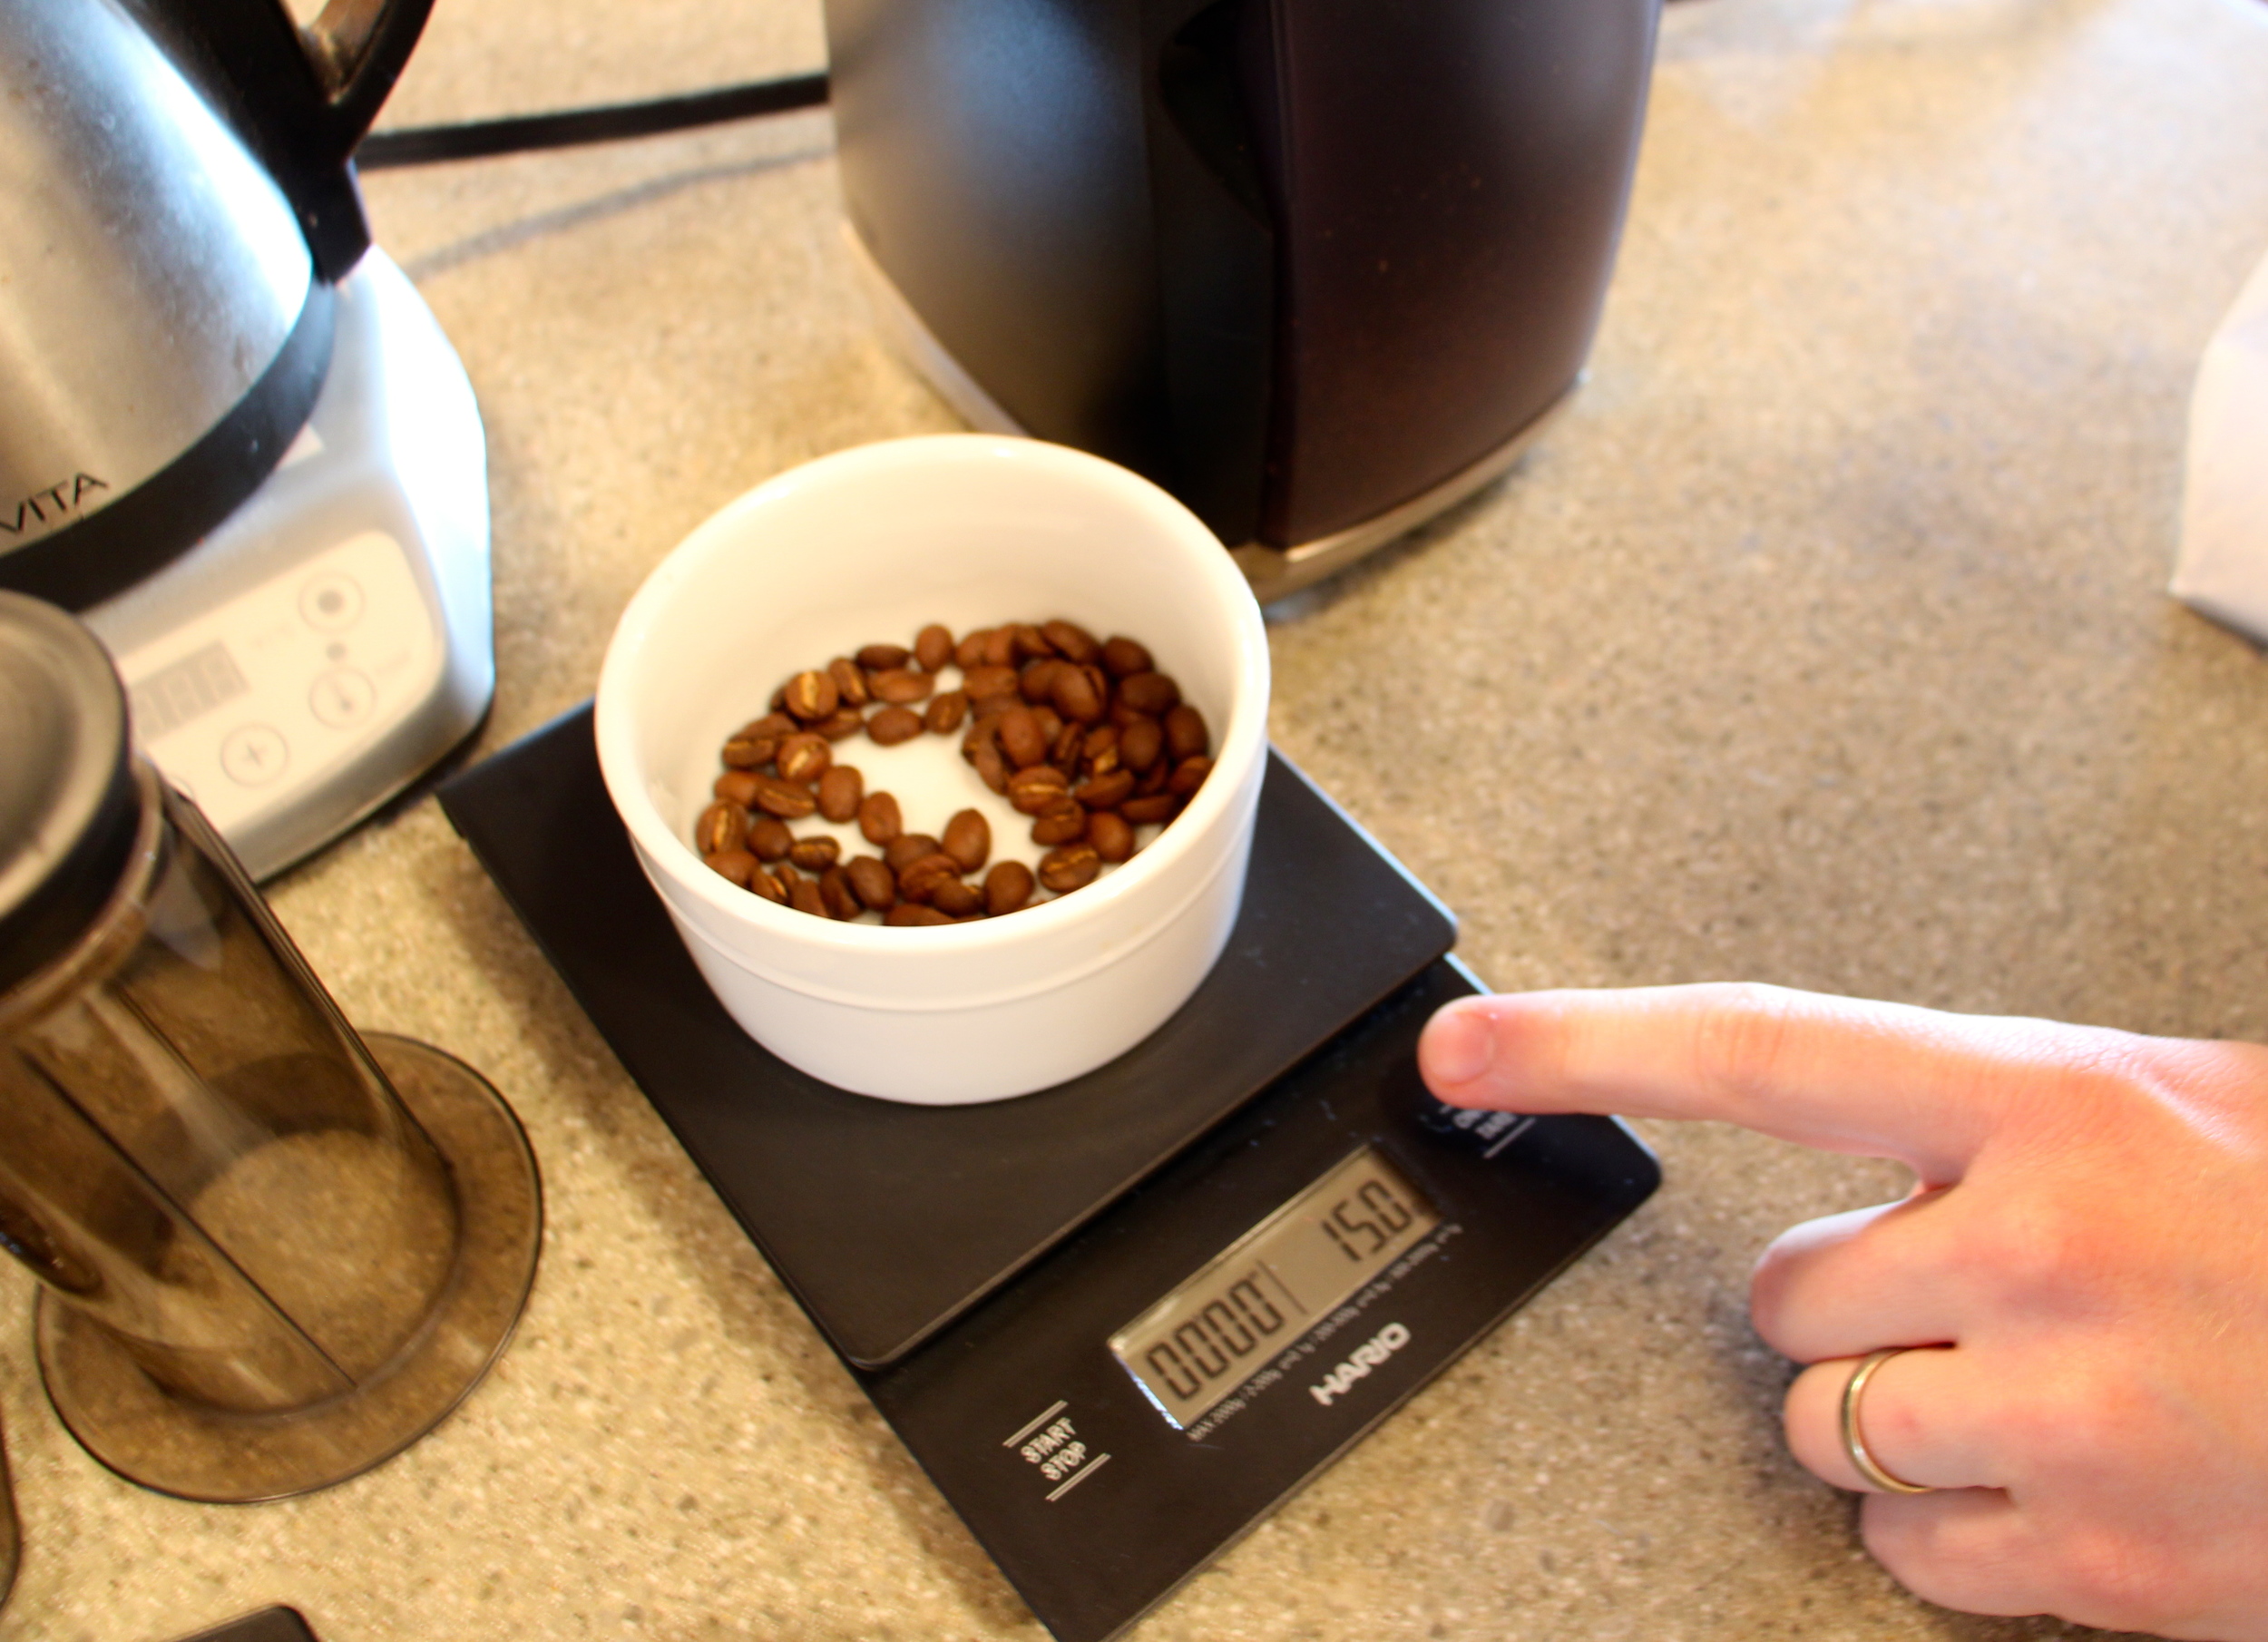
Digital Gram Scale: We’ve all used a scoop to measure our coffee beans but just as it is in baking, everyone’s scoop size and technique is different. Weighing our beans to the exact amount puts us on the path to consistent results every. single. time. Measuring by weight tells you exactly how much of an ingredient there is. Measuring by volume (aka scooping) accounts for everything in the scoop, whether firmly or loosely packed, coarse or fine grain, and air pockets. The ratio of coffee : water should be between 1.6 - 2 grams of coffee to 28 grams of water.
Manual or Electric Burr Grinder: I love coffee. I love the process of making coffee and will tell you that grinding your beans fresh before each batch will change how you taste coffee. As soon as beans are ground, the quality control clock begins to tick and can affect the flavor, aroma, and body of whichever kind of coffee you are brewing. So think twice before buying an entire pound of pre-ground coffee. I recommend a burr grinder for a consistent grind particle size but pulsing the beans in a clean spice grinder will work in a pinch, too. Just weigh out the amount of coffee you want to brew and grind only that amount. Keep your whole beans stored in an air-tight container out of direct sunlight.
Clean, Filtered Water: Did you know that your cup of coffee is 99% water? Needless to say, the quality of your water will make a HUGE difference in how it tastes. We could dedicate an entire blog post to water quality (perhaps soon!) but I will not get into that here. A Brita or any other carbon filter will point you in the right direction for water that is partially particle-free and has no chlorine aftertaste. When brewing hot coffee, you’ll want to use water that is just “off-the-boil,” ideally 195-205 degrees F. This temp will allow you to extract the right amount of flavor from your beans; anything hotter can potentially scald your coffee and affect taste.
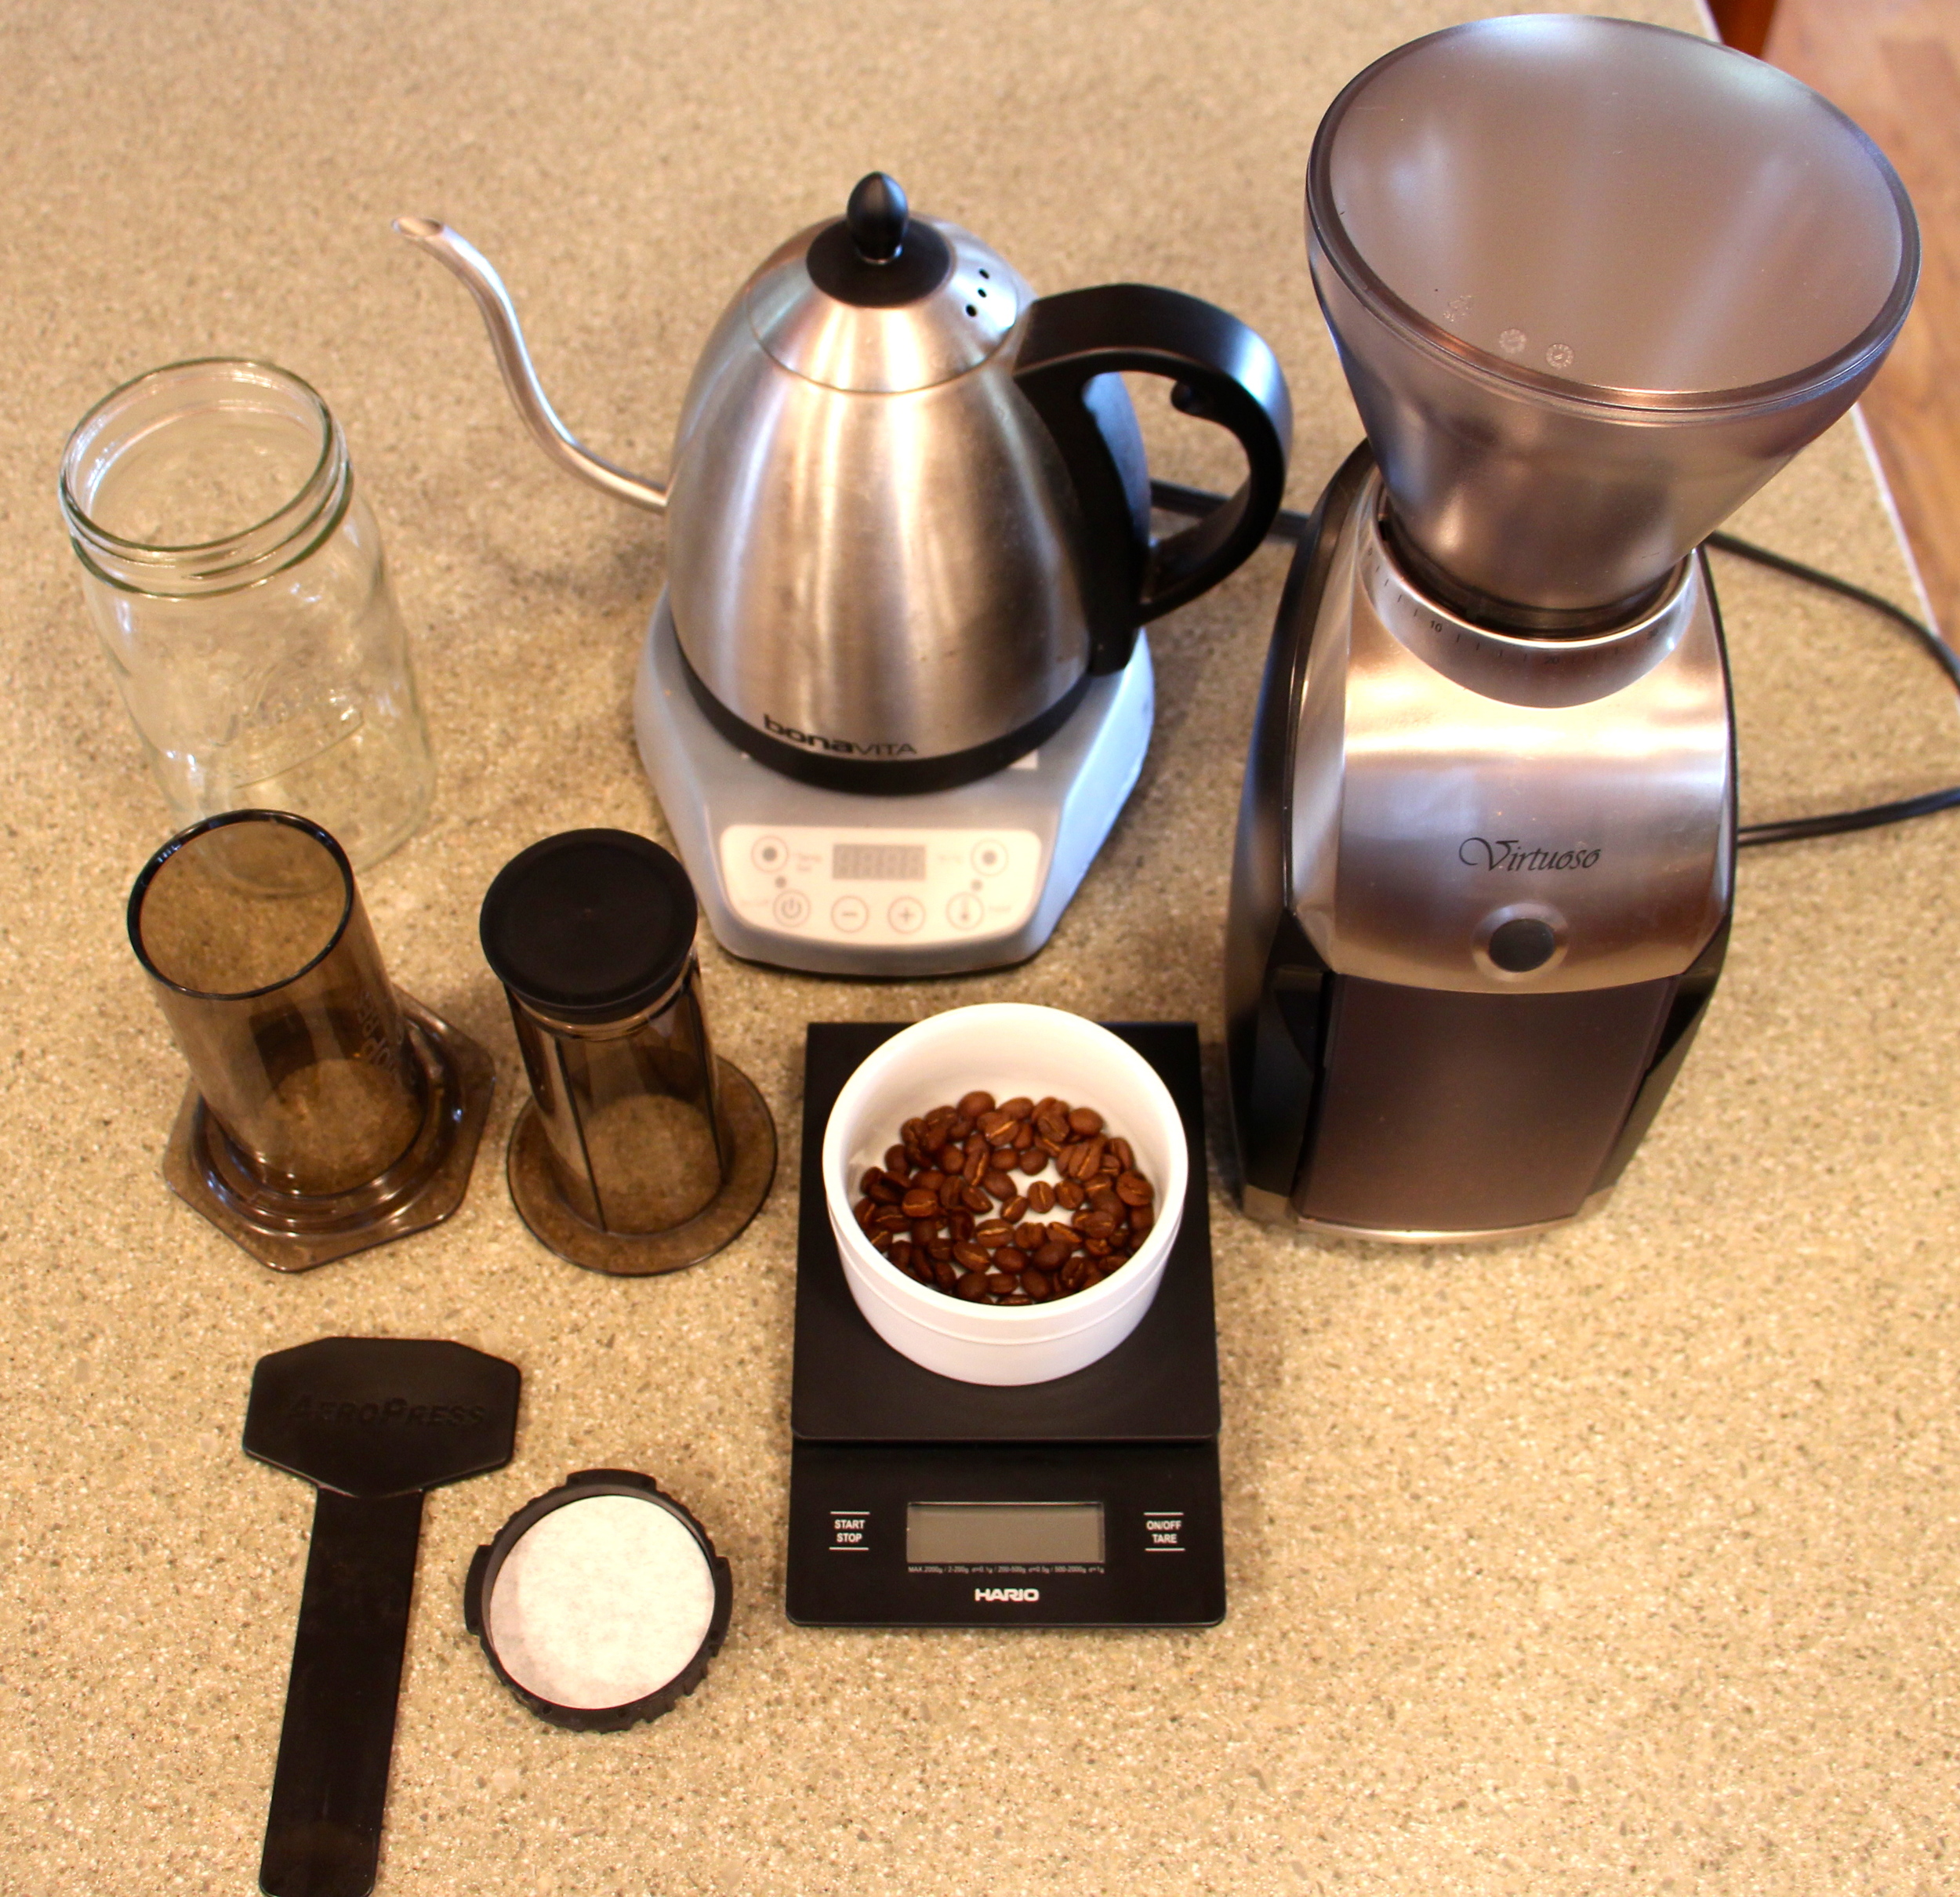
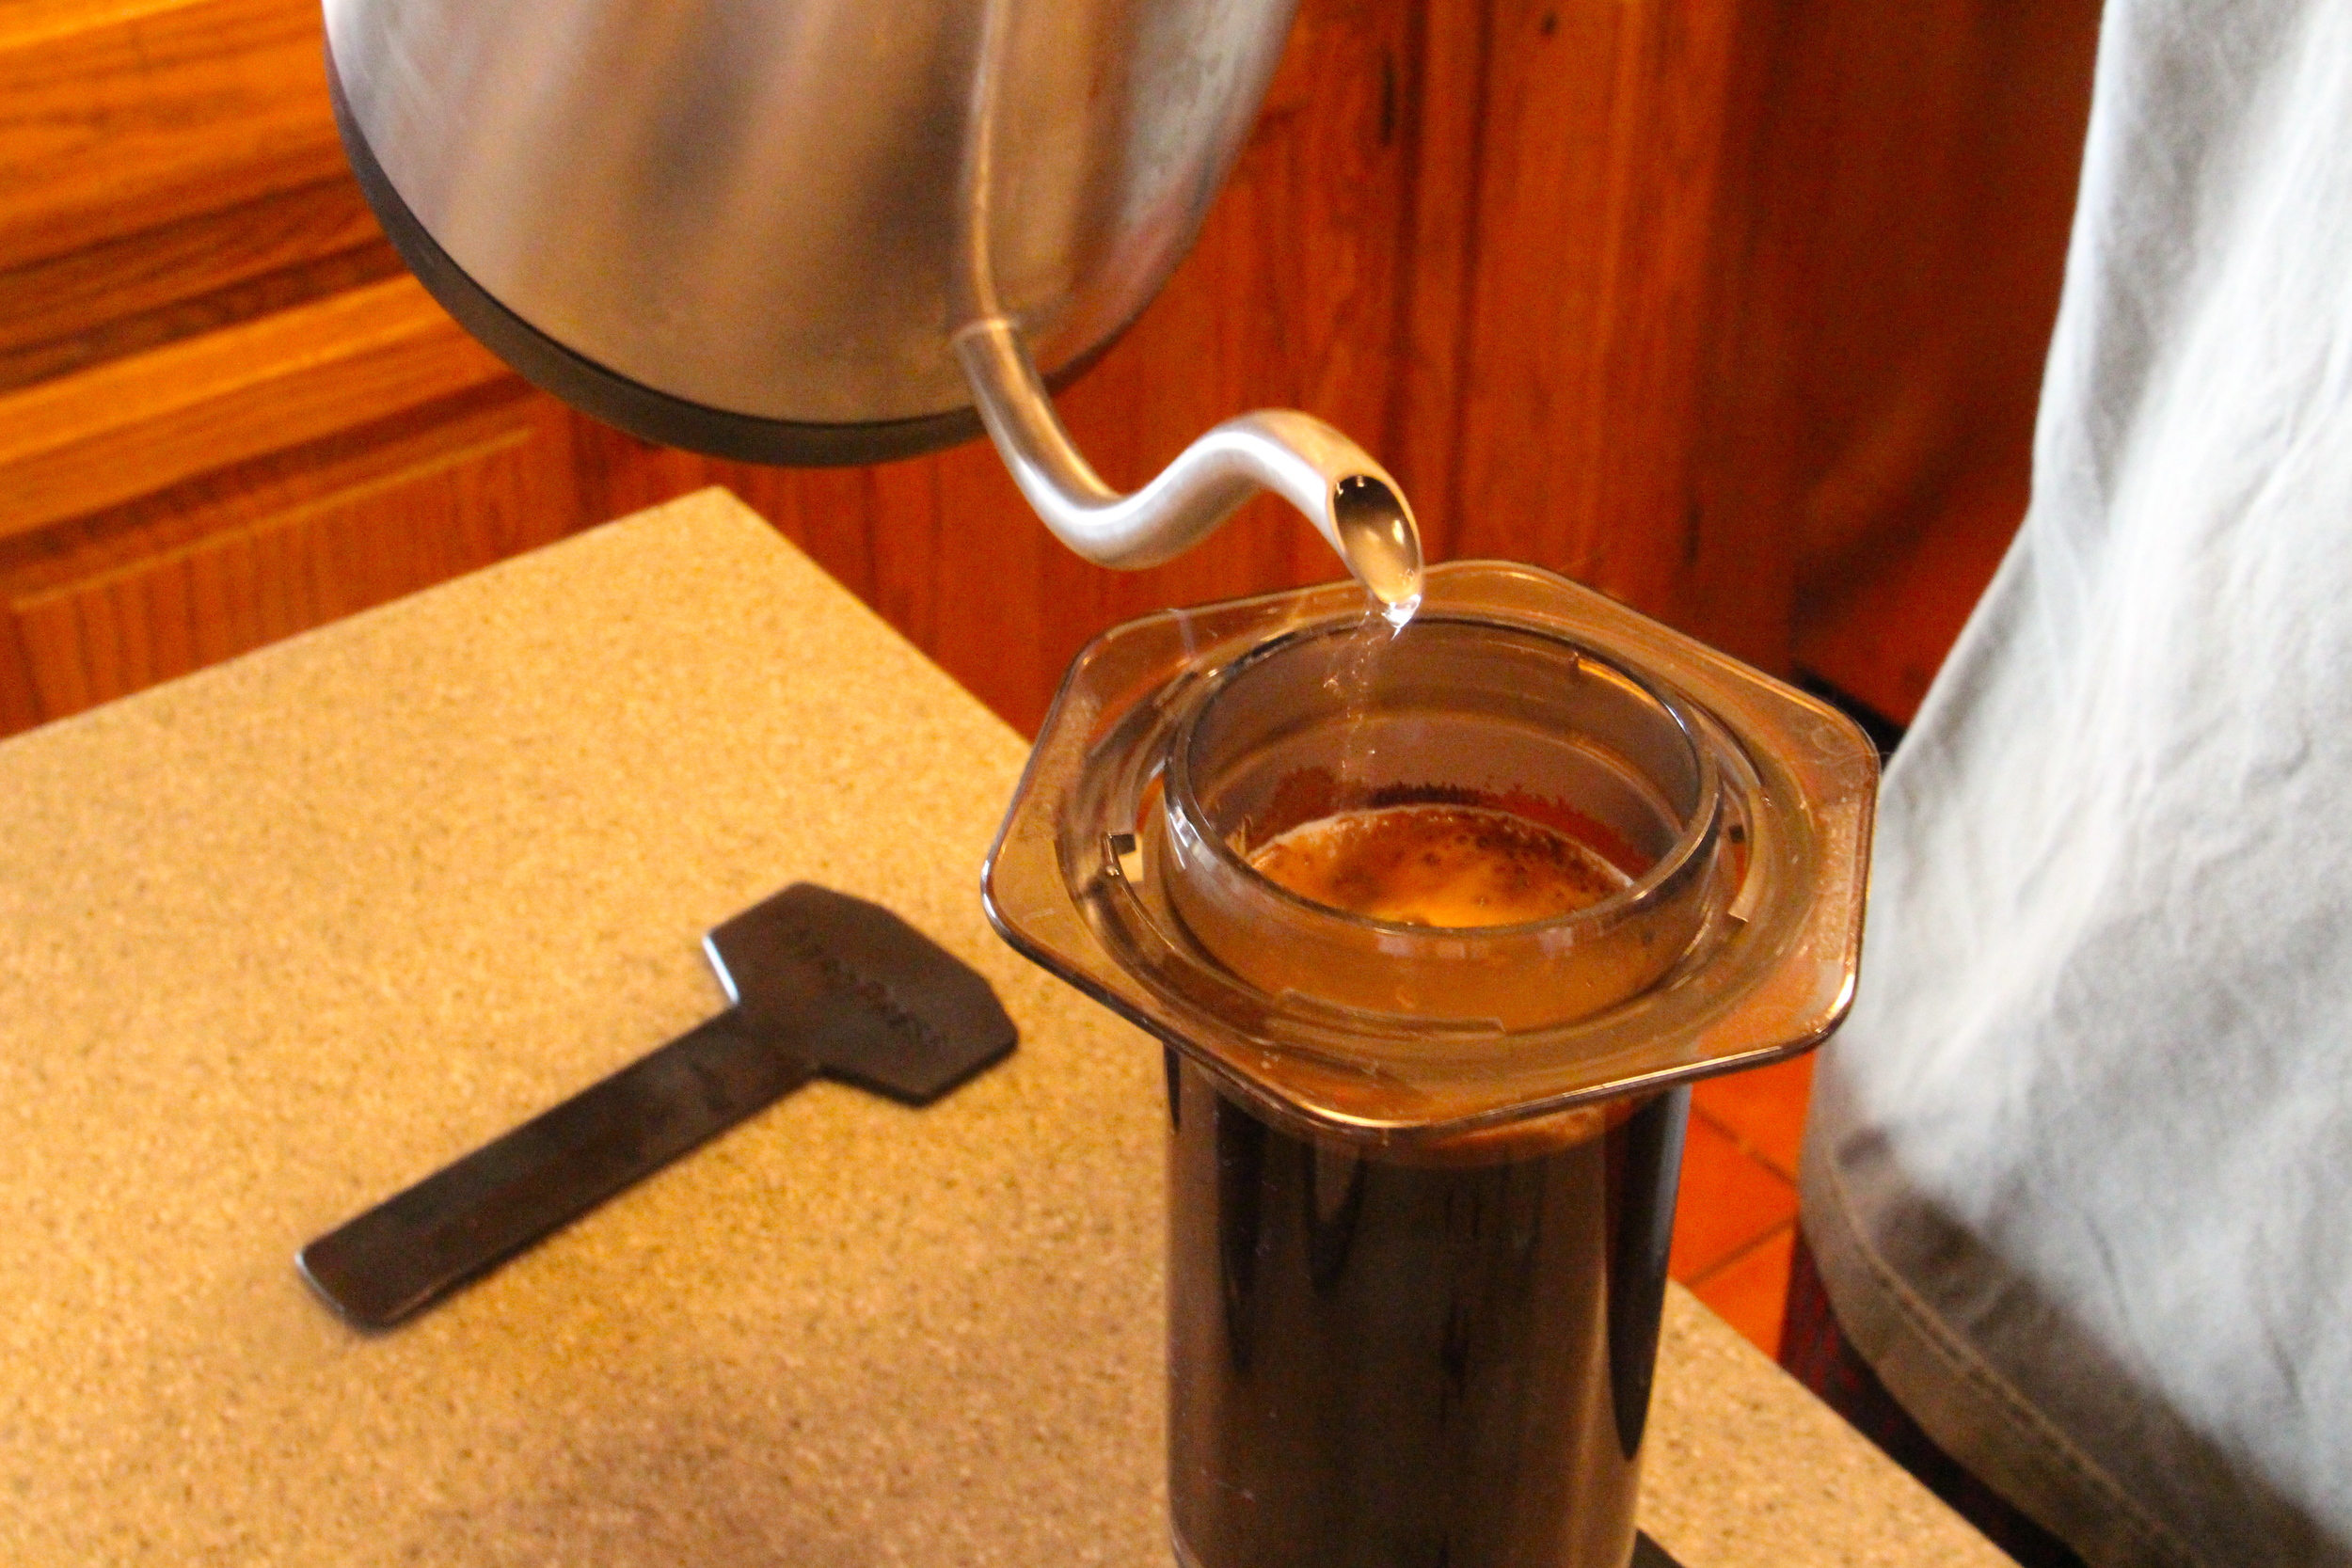
my set-up at home
At Neighbor’s Mill, we use a ratio of 1.8 grams of coffee for every 28 grams of water for our drip coffee. Batch brewing a pot of coffee in a commercial drip coffee maker is the best way to produce a large quantity of coffee without compromising consistency and quality. Unfortunately, home drip coffee makers can often produce an inconsistent cup due to the water temperature falling below the 195F degree threshold resulting in under extracted coffee. Also, the hot plate on which the pot sits heats the coffee over the course of several hours (or however long it takes someone to drink the coffee) and can cause the coffee to burn resulting in a bitter, unsatisfying cup. If you’re brewing with this method then I highly recommend removing the pot of coffee from the hotplate as soon as the coffee is finished brewing and only brewing an amount that will be readily imbibed.
However, if you’re interested in another method of brewing a delicious, clean cup of coffee at home, perhaps a single cup method, then keep reading…
Have you ever tossed around a frisbee with friends? Maybe one that looks like a big rubber ring about a foot in diameter and can be thrown down the length of a football field with the flick of a wrist? It’s called an Aerobie frisbee and the guy who invented it, Stanford professor Alan Adler, also invented a single cup coffee method that has become hugely successful and taken the world by storm. Frisbees and coffee...what could be better?

This little gadget is called an Aeropress and essentially combines the French Press method (immersing and steeping coffee grounds in water) and the Clover method (a combination of immersion and vacuum brewing). You can pick one up on Amazon.com or at some Bed, Bath, and Beyond locations for around $30. (Additional bonus: it all breaks down into an easy-to-store bag and is great for traveling!)
To use the Aeropress, you will need the following:
Gram Scale
Grinder (Burr or Spice)
300 grams of water heated between 195 - 205 degrees F
15 grams of freshly ground coffee that are ground finer than coffee used for a drip machine *see our note at bottom of post for grind size guidelines
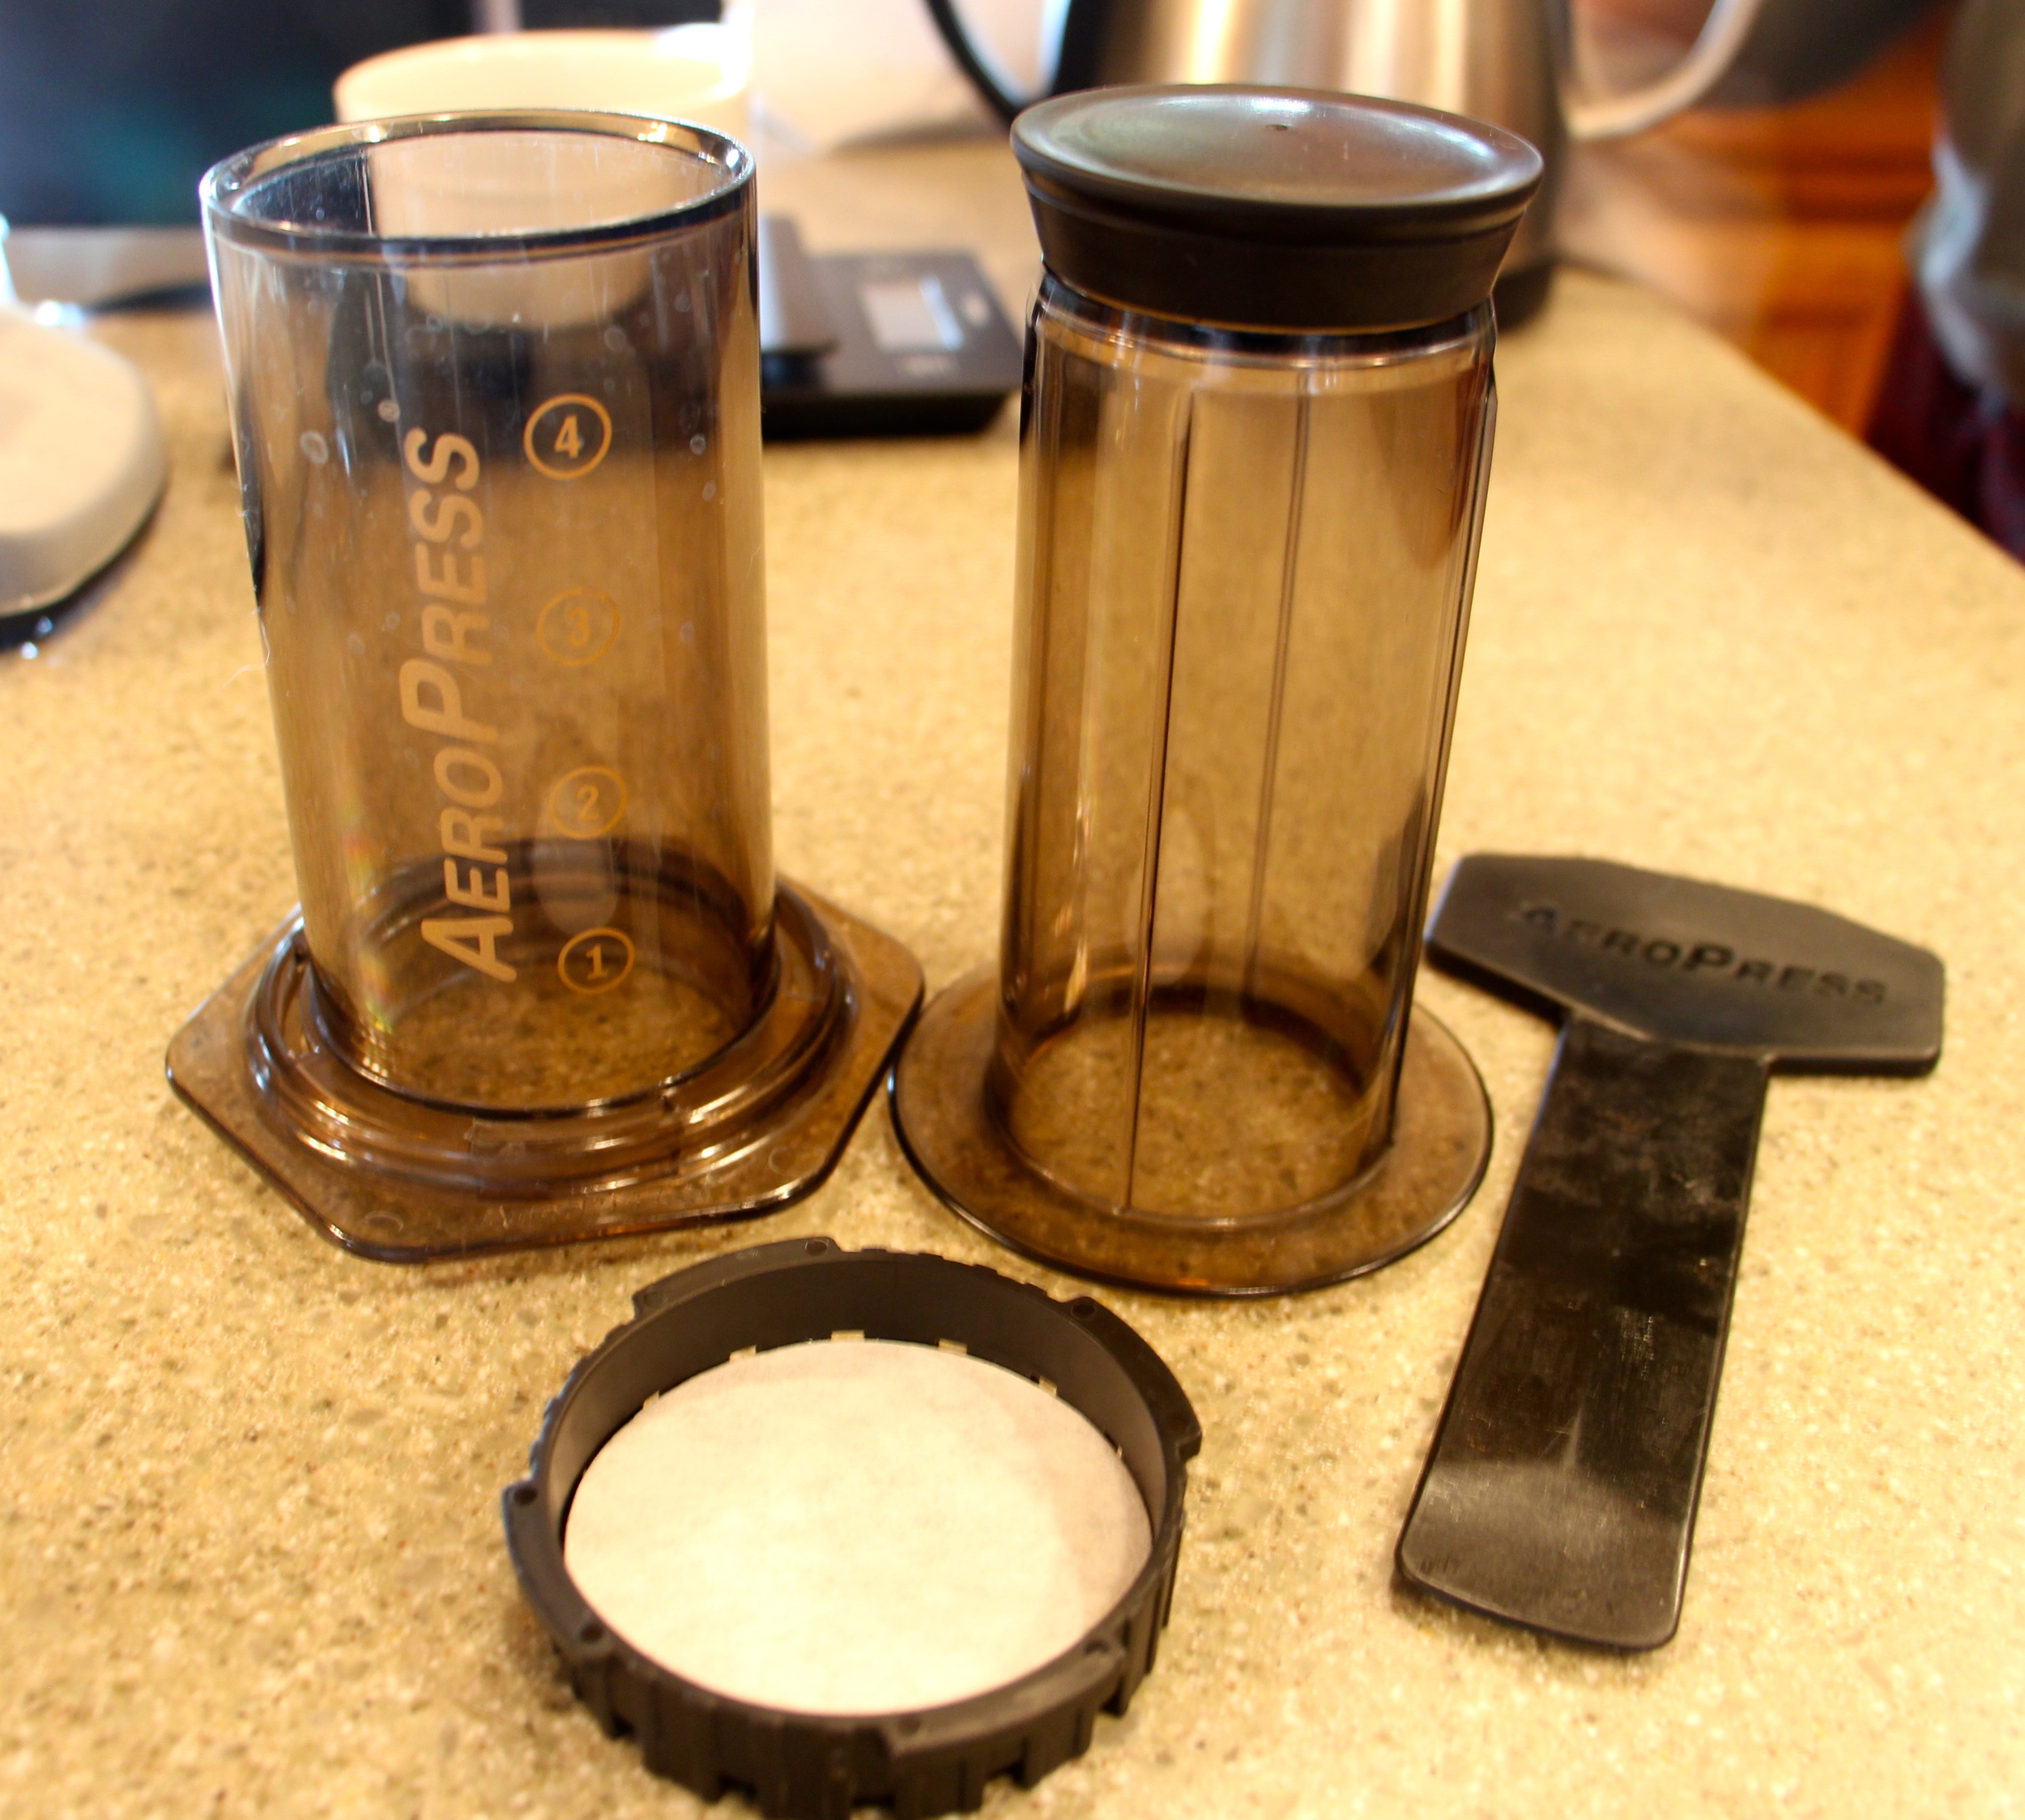
Aeropress
Step by Step Directions for Making a Cup of Coffee with the AeroPress!
Assemble the Aeropress by placing the plunger into the cylinder only about a quarter of an inch. Flip the Aeropress so the plunger is standing on the counter and the open end of the Aeropress cylinder is facing up. You should now be able to put your grounds into the open end of the Aeropress cylinder.
2. Begin heating 300 grams of water
3. Grind 15 grams of coffee to the appropriate grind size and pour into Aeropress cylinder.


4. Once water is between 195 - 205 degrees F, “pre-heat” your coffee cup/mug by wetting the paper filter into the cup/mug you'll be drinking from. This will prepare the filter so you do not get any paper taste during the brewing process. It will also warm your mug up so that your coffee stays hot longer (make sure you dump the water out before you begin to brew your coffee into the cup, of course).
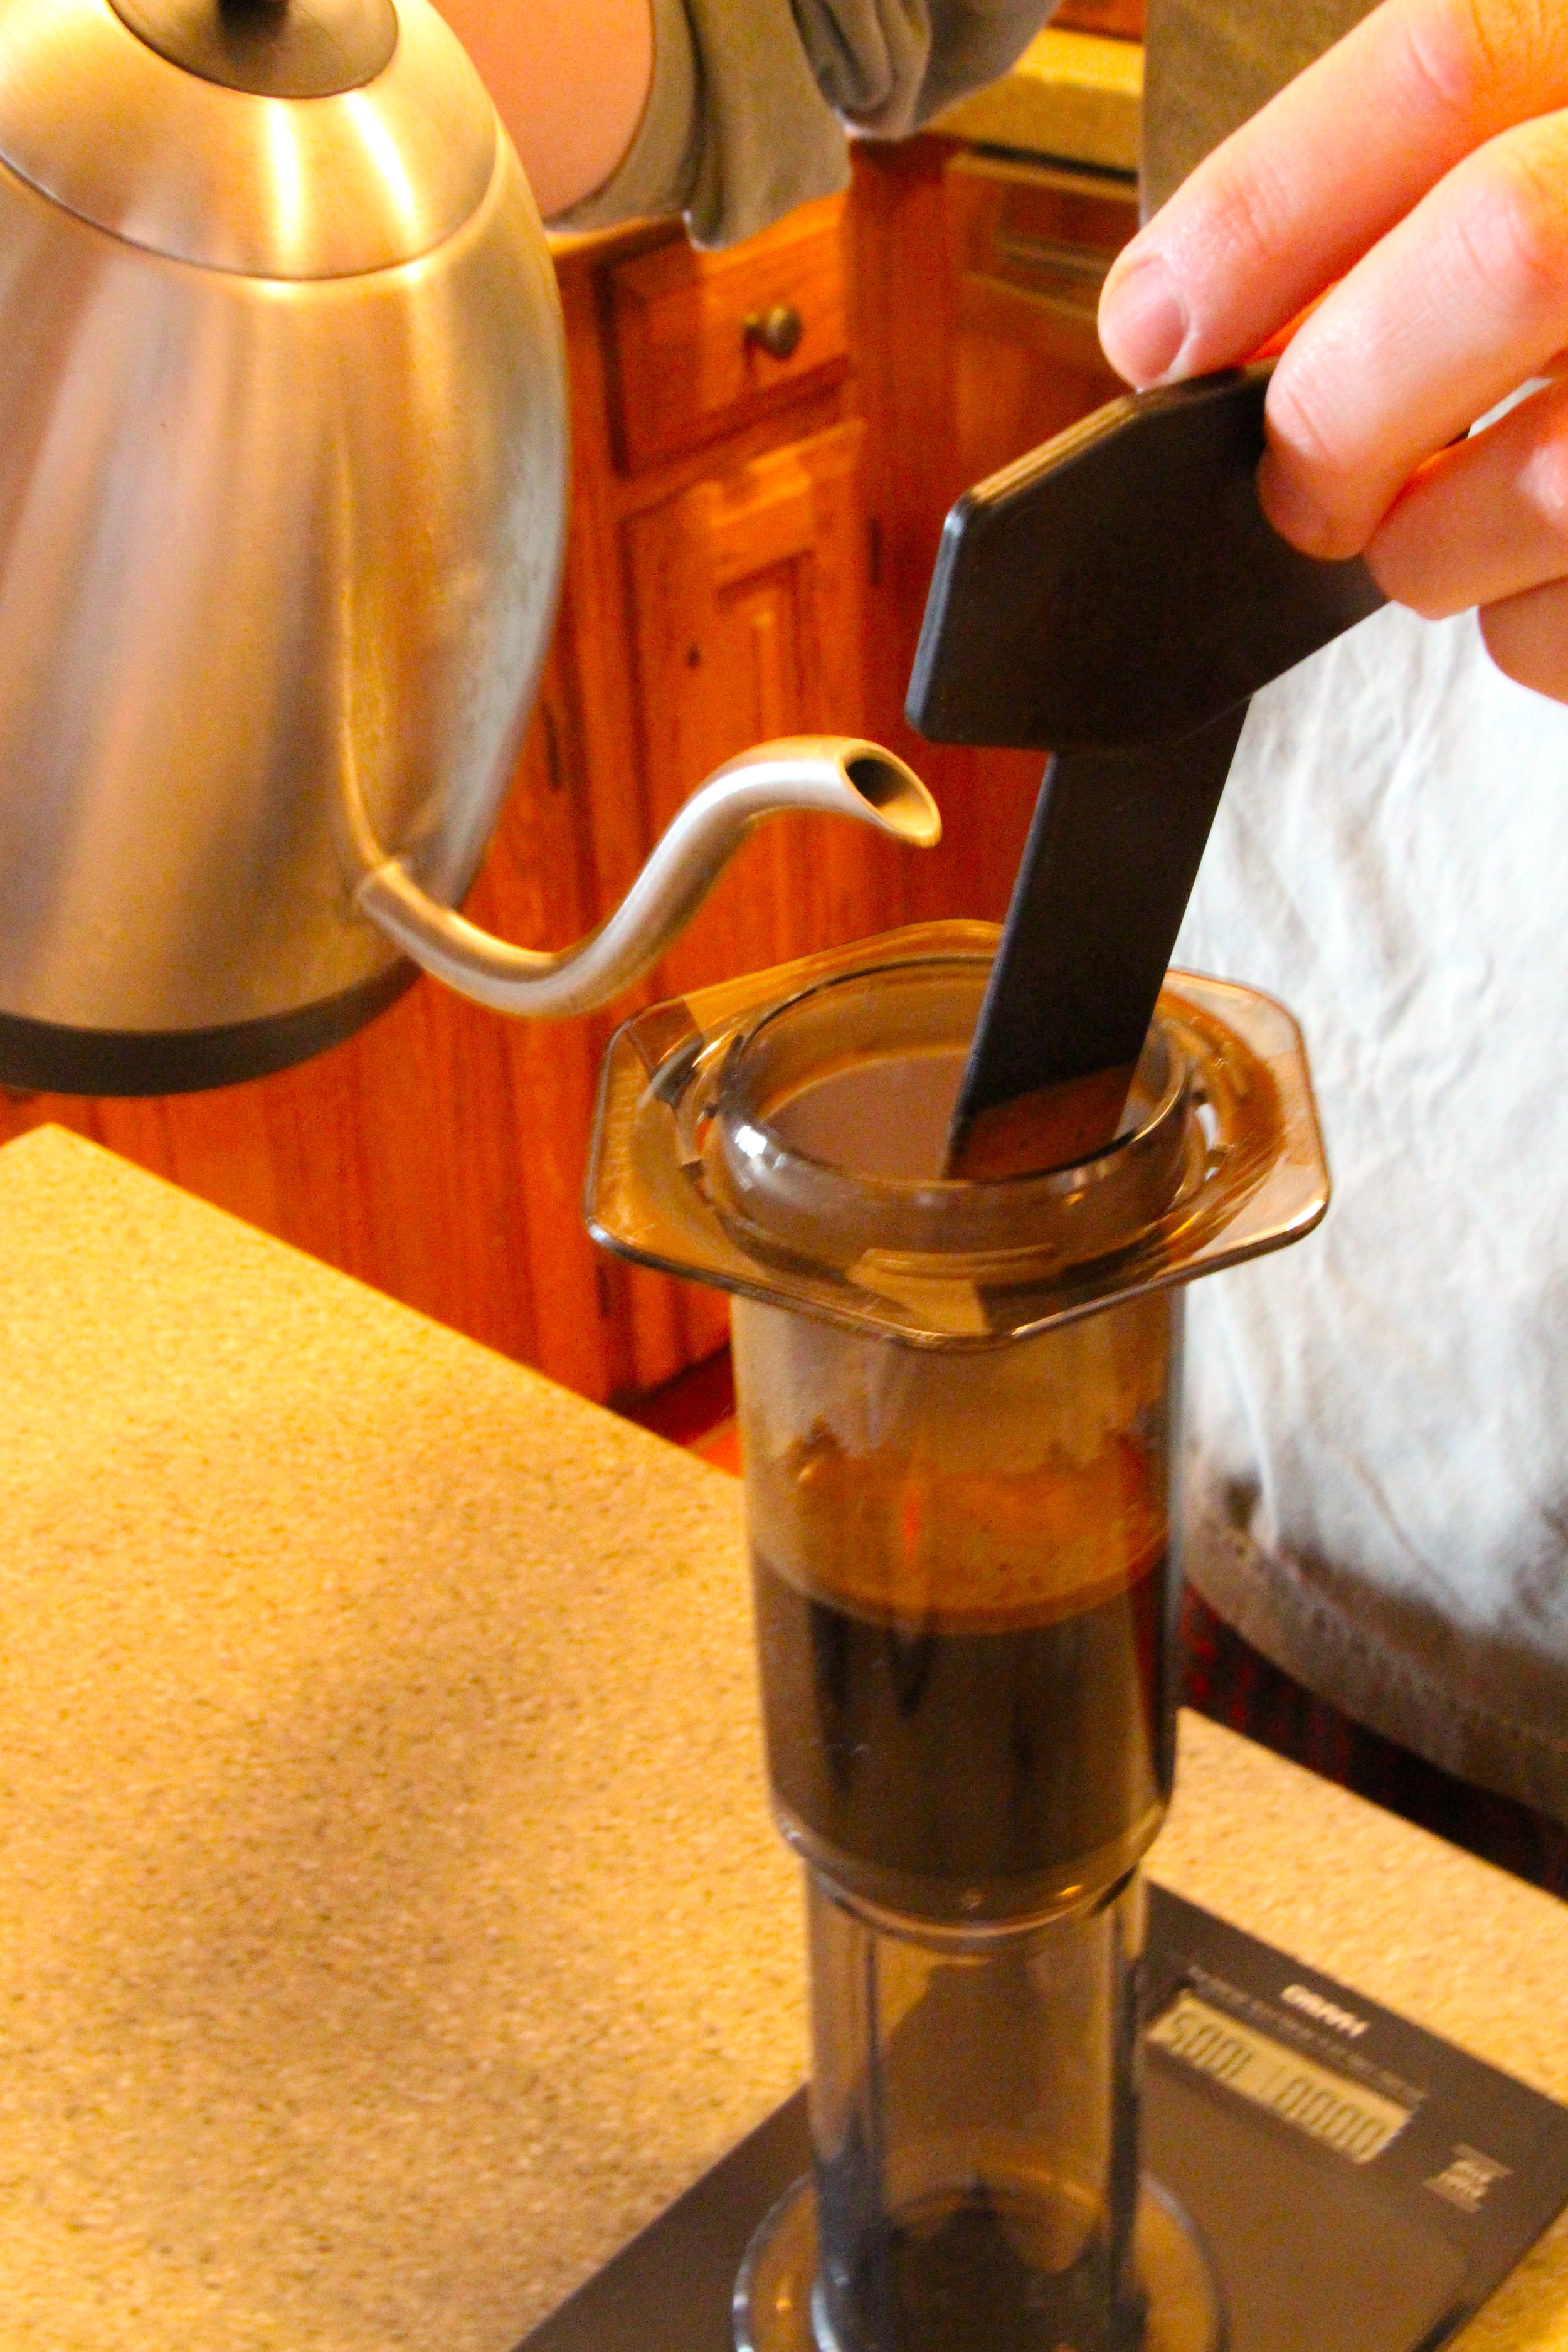
5. Place Aeropress on scale and tare to zero. Begin pouring water and stop once you’ve poured 60 grams. Take the stirrer that is included with your Aeropress and give the coffee/water mixture 8 turbulent stirs. Continue pouring until you reach 240 grams of water.
6. Place wet paper filter and filter cap on Aeropress. Using your ninja-like reflexes, flip the Aeropress over and place on top of your mug.
7. GENTLY PRESS the plunger down to begin the filtering and extraction process. Give yourself 30 - 45 seconds to finish the press.

8. Remove the filter cap and pop out the used coffee “puck”, rinse with water OR ENJOY YOUR COFFEE FIRST AND SAVE THE WASHING FOR LATER!
With warmer weather here, iced coffee is probably at the top of every coffee lover’s mind. A quick internet search will show there are lots of ways to brew iced coffee. However, here are two easy methods that would work great at home.
Brew your cup of hot coffee just the way you normally would, except brew it over ice (this has become known as the Japanese Iced Coffee method). For example, if you use your AreoPress, just fill your cup with ice and press your coffee right over it. This method will allow you to lock in the flavors that you get with your hot cup of coffee. Just keep in mind that your ice will begin to melt immediately and it will water down your coffee slightly. To get the right ratio of coffee to water you will want to cut your water quantity in half (think: half of my “water” ratio should be in ice; the other half of the water ratio in actual water).
Cold brew: this method means that you’re soaking coffee grounds in water for an extended period of time. This is our method at Neighbor’s Mill! We use a nice medium-bodied coffee with a coarse grind. The ideal ratio is anywhere between 4 ½ :1 - 10:1 water to coffee. The grinds will just sit in the water and soak at a minimum of 8 hours. At that point you'll want to use a large coffee filter or cheese cloth with a mesh strainer to separate your coffee from the grounds. The result should be a smooth cup of cold-brew coffee! You’ll want to play with both the water to coffee ratio and the soak time since everyone’s flavor palate and taste preferences are different.
The main thing to keep in mind with all iced coffee’s is that your ice will be diluting the coffee (either immediately or over time) so you want to account for that additional water by brewing a stronger coffee to begin with.
*A very brief note on grind size: there is no straightforward guideline on particle size of your grinds but a good way to think about the difference between a coarse grind and a fine grind is to think about rocks vs. sand. Does water run through a pile of rocks quicker than a pile of sand? Of course. So a courser grind will extract less flavor since the water will run through it faster. As a general rule of thumb, the quicker the method of brewing, the finer the grind size should be (AeroPress = fine; French Press = coarse). The quickest brew method of all is espresso; the espresso machine extracts a shot in as quick as 20-30 seconds so the espresso grind is typically the finest grind size so that you’re getting as much flavor from your coffee as possible in that short amount of time.
(I will also quickly say that the AeroPress is just one method of many that we like for a single-cup. At home I switch between the AeroPress, a Hario v-60 pour-over cone and a French Press. There's also the Chemex & Clover methods. I encourage you to check these out and make sure to do your own research in regards to coffee:water ratio and grind size for each method.)
We hope this is helpful. For more coffee facts & hidden gems of knowledge, check out these sites below that we love. Good luck & bring on the java!
-Clif
(for questions or to geek out over coffee together, email me at clifton@neighborsmill.com)
Coffee sites we love: